Real Flight Simulator
Questo è il Manuale Ufficiale di Real Flight Simulator.
I contenuti del manuale sono suddivisi in sezioni:
- La prima parte (sezioni da 1 a 10) contiene tutte le funzioni delle singole attività a partire dalla pagina principale di gioco.
- La seconda parte (sezioni 11 e 12) approfondisce le funzionalità durante la fase di gioco e di pausa.
Contents
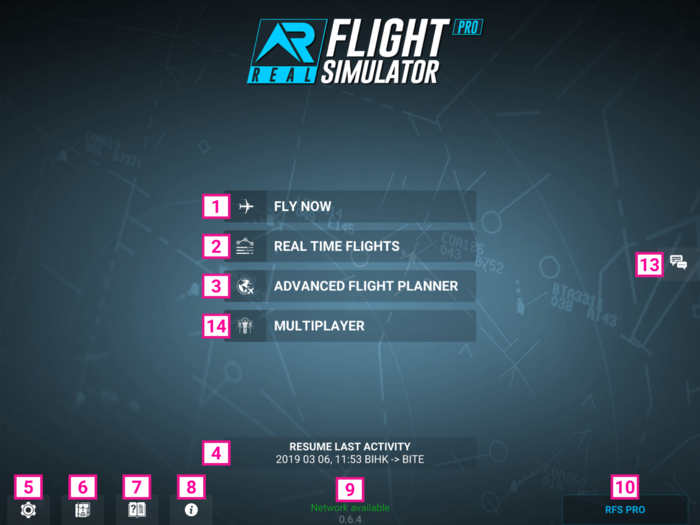
1 Fly Now
Quickly enter the flight simulator
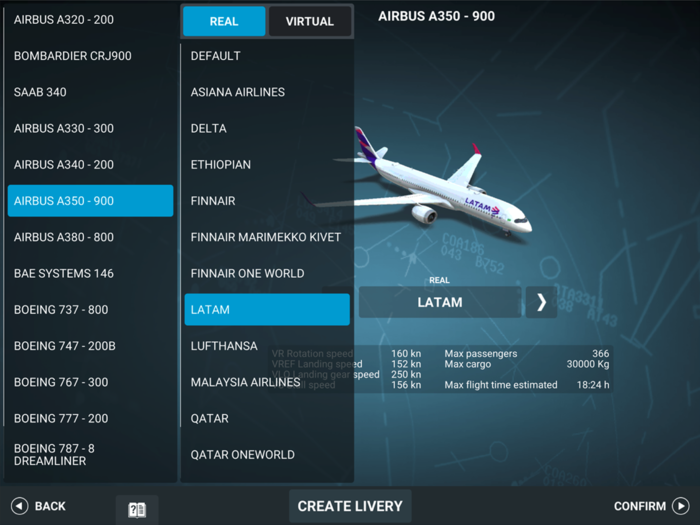
Plane selection
Choose a plane on the list on the left Change livery by tapping on the arrows at the sides of the livery name or tap on the livery name to open the complete list.
- CONFIRM: Proceed to route selection
- BACK: Back to main menu
- CREATE LIVERY: Proceed to web page (realflightsimulator.org/liveries/) to download/upload custom liveries (needs graphical package supporting .psd file format).
Route Selection
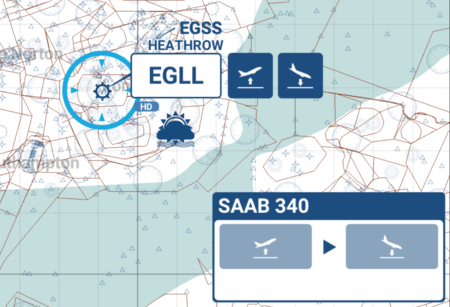
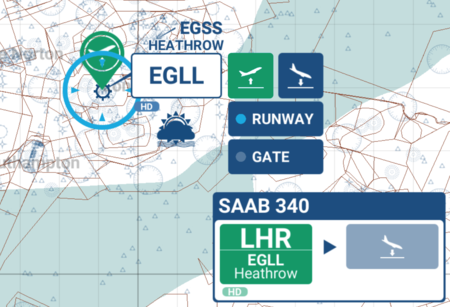
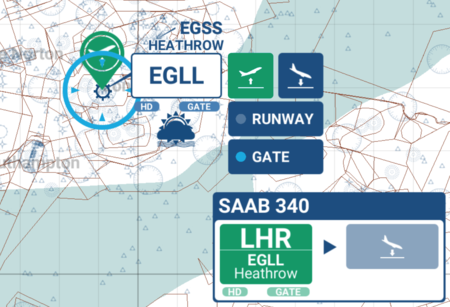
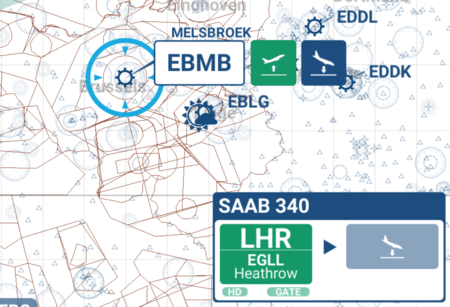
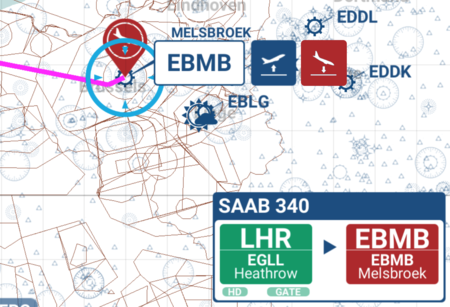
Zoom in or zoom out by pinching the map, smaller airports appear by zooming more in. Select an airport on the map by tapping on an airport ICAO code. Choose whether to do a take off or landing by tapping on the correct icon to the right of the airport name, tap again to cancel it.
Airports type:
HD Airport - Selection
SD/LD Airport - Selection
Choose another airport and repeat the above
- FLY NOW: Take control of the plane
- BACK: Back to Plane selection
2 Advanced Flight Planner (PRO only)
Plan carefully your flight plan and execute it
File Selection
Choose an existing plan from the list on the left or choose an option from the top bar.
- NEW: Create a new flight plan
- DUPLICATE: Create a copy of the currently selected flight plan
- EDIT: Edit currently selected flight plan
- DELETE: Delete currently selected flight plan
- START FLIGHT: Start the currently selected flight plan
- BACK: Back to main menu
Edit/New
- General
-
- Title: Insert the title of your flight plan
- Description: Insert the description of your flight plan
- Tags: insert any tags of your flight plan separated by space (example: “Asia Rain Singapore”)
- Date/Time
-
- Custom/Real: Choose real time or customize with any setting
- Date: Tap on the date to change it
- Time: Move the slider to change it
- Flight Plan
-
- See your planned route. Tap on ROUTE SELECTION to change/select your route
- Aircraft
- See your currently selected plane.
- CHANGE: change your currently selected plane
- Fuel: Move the slider to change quantity
- Passengers: Move the slider to change quantity
- Cargo: Move the slider to change quantity
- Metar - Departure
- Sets your departure weather
- Custom: move sliders to change weather settings
- Real: real weather conditions
- Random: random weather conditions
- Metar - Arrival
- Sets your arrival weather
- Custom: move sliders to change weather settings
- Real: real weather conditions
- Random: random weather conditions
3 Real Time Flights (PRO only)
Search for real flights and fly them
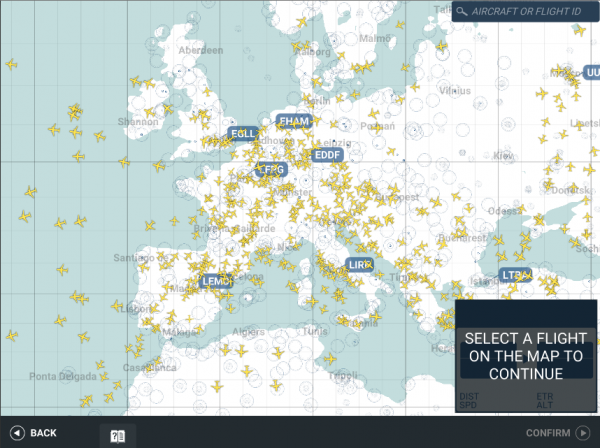
Zoom in or zoom out by pinching the map Search for a flight on the map by tapping on an airplane Check the flight details on the window in the bottom right corner
- FLY NOW: Take control of the plane
- BACK: Back to main menu
4 Resume Last Activity
5 Settings
- System
-
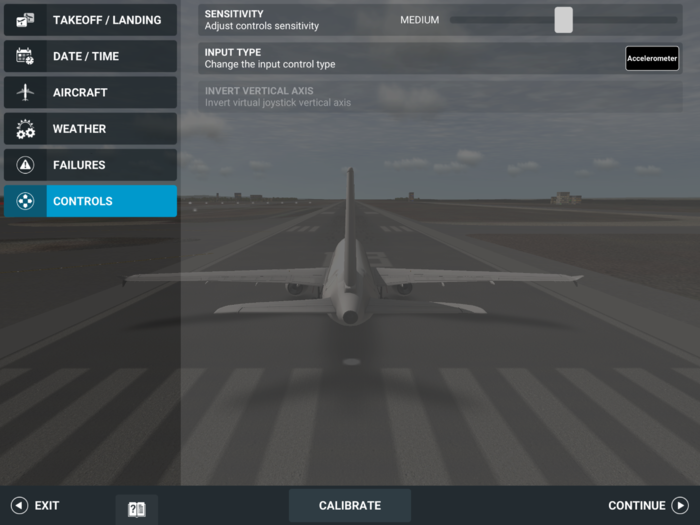
- Sensitivity - set your control sensitivity, the lower the sensitivity, the smoother the response of the plane to your movements.
- Quality - 3D world detail quality, lower it if you have frame rate or stability problems.
- In Flight UI - sets the appearance of the in game UISatellite.
- Heightmaps - Turn on/offSatellite
- Terrains - Turn on/offClear
- Cache - Resets the cache of already downloaded data, clear only when you are having problems with excessive app size or corrupted textures.
- Sound
-
- Sound - Turn on/off all audio
- Radio - Turn on/off only radio chatter Account
- Support - Opens your mail client ready to send a support email
- Privacy - Check our privacy policy
- Google - Login using your Google account
- LoginFacebook - Login using your Facebook account
- ID - Your account IDFailures: All failures are global and apply to all airplanes.
- Custom/Random/Off: Choose your failures, get surprised by random failures or switch them offMove the failure list up/down to scroll it and see all available failuresMove the slider of each failure to set it at the desired frequency or move it all the way to the left to switch it off
6 Log Book
- For each activity
-
- Real Date - the real calendar date in which the activity has been performedActivity
- Date - the activity date as set by the flight plan
- Aircraft - the plane used to fly
- From - Departure airport
- To - Arrival airportDuration - Flight time
7 Game Manual
8 Release Note
9 Online Status
10 Subscription
11 Game Pause
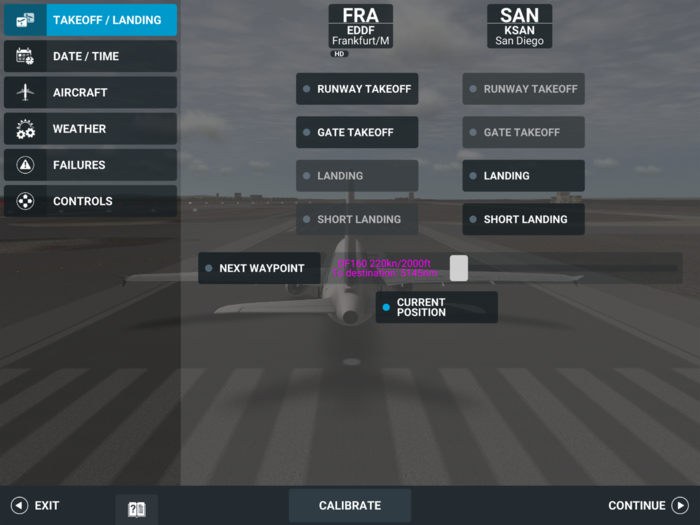
Takeoff/Landing
Choose any of the options available to quickly perform an activity
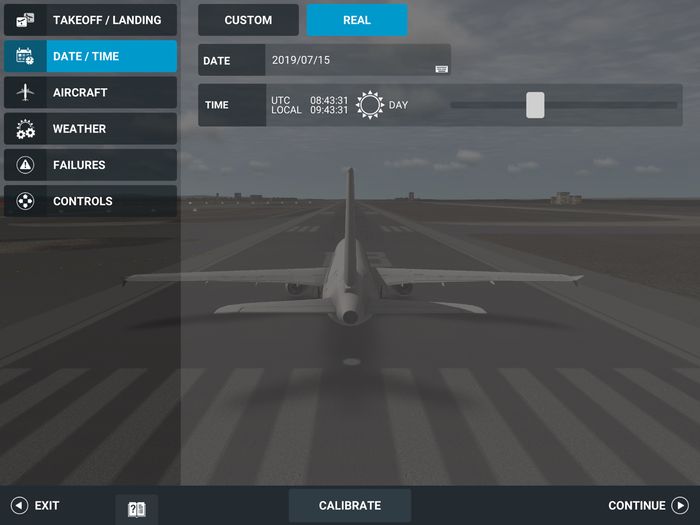
- Date/Time
-
- Custom/Real: Choose real time or customize with any setting
- Date: Tap on the date to change it
- Time: Move the slider to change it
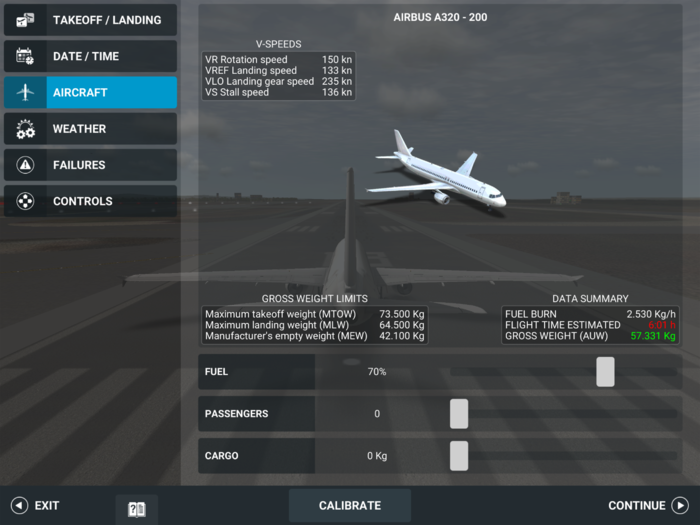
- Aircraft
-
- Fuel: Move the slider to change quantity
- Passengers: Move the slider to change quantity
- Cargo: Move the slider to change quantity
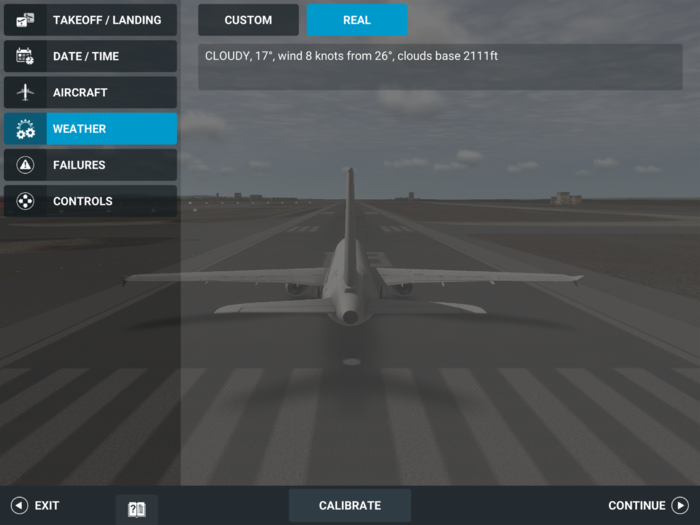
- Weather
- Sets your current weather
- Custom: move sliders to change weather settings
- Real: real weather conditions
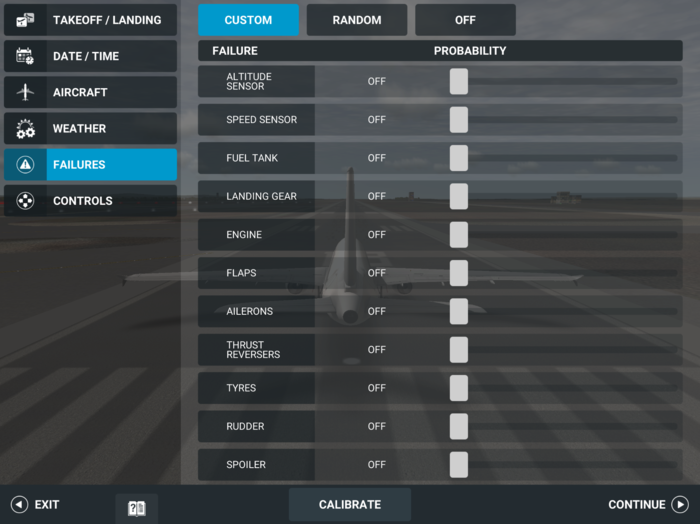
- Failures
- All failures are global and apply to all airplanes.
- Custom/Random/Off: Choose your failures, get surprised by random failures or switch them off
- Move the failure list up/down to scroll it and see all available failures
- Move the slider of each failure to set it at the desired frequency or move it all the way to the left to switch it off
- EXIT
- Leave the flight: If you Exit you will have access to:
- EXIT: Back to main menu
- TRY AGAIN: Restart your flight
- REWIND: Return to your flight as it was one minute ago
- REPLAY: Look at your replay
CALIBRATE: Tap to calibrate and return to your flight CONTINUE: Return to your flight
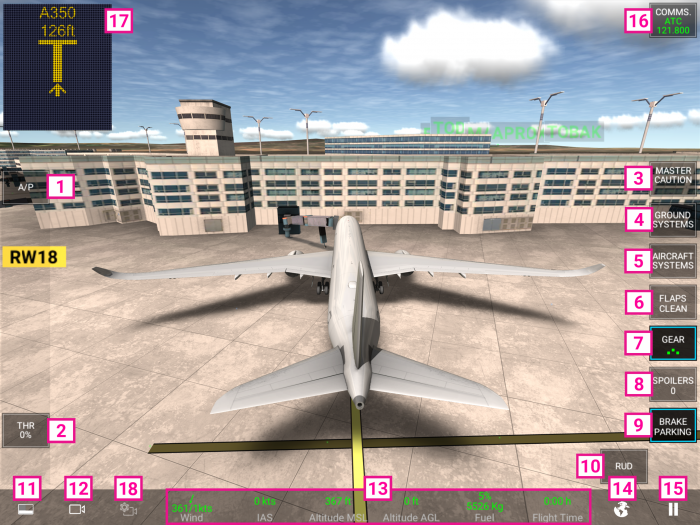
12 Flight UI
- Autopilot
- Throttle
- Pushback
- Master Caution
- Systems
- Flaps
- Landing Gear
- Spoiler
- Ground brake
- Rudder (move left/right)
- Change panel
- Change camera
- Planner MAP/FMC
- Pause
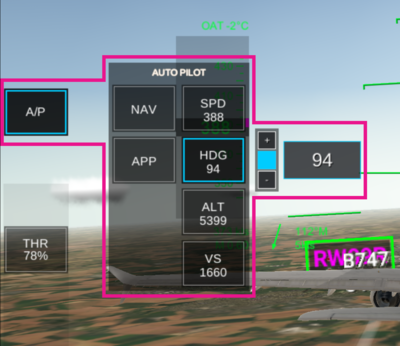
1. Autopilot
A/P - Tap once to activate the autopilot panel, tap again to close it.
NAV - Activates auto pilot. When autopilot is active Speed, Heading and Altitude can’t be manually changed.
APP - Activates auto approach. Available only when airplane is within ILS range.
SPD - Keep the button pressed and move up/down to change the speed, release to set the desired setting.
HDG - Keep the button pressed and move up/down to change the heading, release to set the desired setting.
ALT - Keep the button pressed and move up/down to change the altitude, release to set the desired setting.
VS - Keep the button pressed and move up/down to change the vertical speed, release to set the desired setting.
2. Throttle: Move up/down to set desired power.
3. Pushback: Available only when stationary, activate it to be pushed back.
4. Master Caution: Tap to reset alarms.
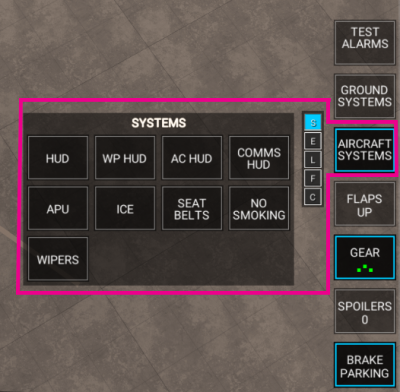
5. Systems: Tap once to activate the currently selected sub-menu, tap again to close it.
Keep the button pressed and move up/down to move between the different options, release to choose the desired sub-menu.
- SYSTEMS
- HUD - switch hud on/off
- WP HUD - switch waypoints display on/off
- AC HUD - switch other airplane marker display on/off
- APU - switch APU on/off
- ICE - switch deicing on/off
- NAV LIGHTS - switch navigation lights on/off
- BEACON LIGHTS - switch beacon lights on/off
- LANDING LIGHTS - switch landing lights on/off
- STROBE LIGHTS - switch strobe lights on/off
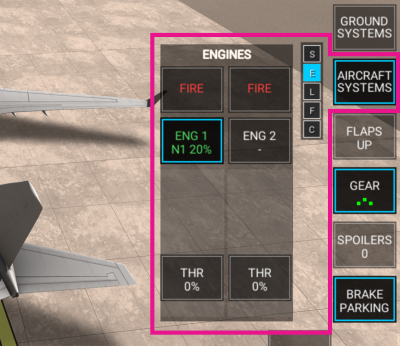
- ENGINES
- For each engine
- FIRE- tap once to activate, tap again when ready to use extinguisher, will deactivate automatically after a few seconds if not used.
- ENG x - Shows throttle power for selected engine.
- THR xx% - Move up/down to adjust engines separately.
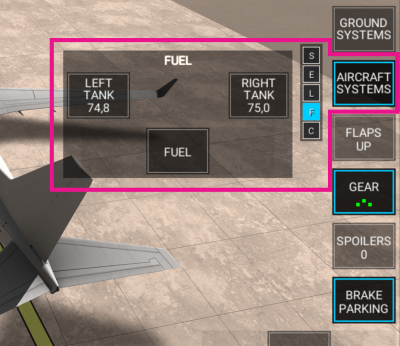
- FUEL
- LEFT TANK - Tap to release fuel
- RIGHT TANK - Tap to release fuel
- FUEL - move left/right to move fuel from one tank to the other
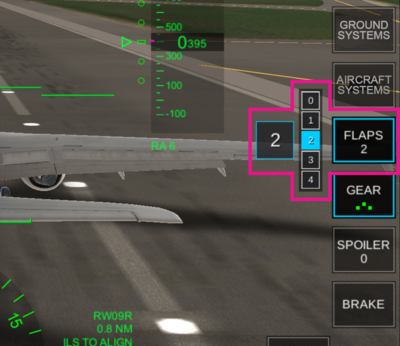
6.FLAPS
Keep the button pressed and move up/down to move between the different flaps settings, release to set the desired setting.
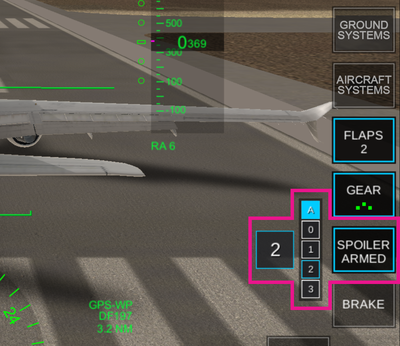
8 SPOILER
Keep the button pressed and move up/down to move between the different spoiler settings, release to set the desired setting.
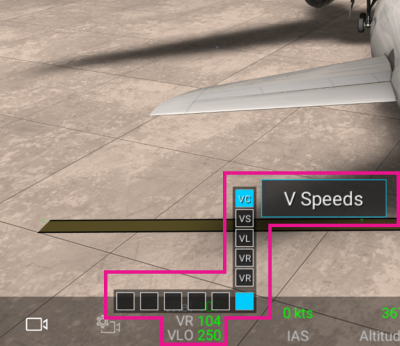
Choose any set of data to display for each available data area. Keep the data area pressed and move up/down or left/right to change the desired display, release to set the desired setting.
